 "StudyStudyStudy" (jesterjin)
05/23/2017 at 13:20 ē Filed to: None
 3
3
 8
8
 "StudyStudyStudy" (jesterjin)
05/23/2017 at 13:20 ē Filed to: None |  3 3
|  8 8 |
A lot of time wasted ordering the wrong parts.
Waited on some genuine toyota seals and was sent a bag without the toyota part number and washers that donít belong on the motor.
Ordered 4 inch intake parts couplers, filter, when it turns out my inlet is a 3.5 inch (turns out they changed between the sx and the sx-e).†
My replacement coolant temp plug came inverted, but was easily remedied. I went to the parts store and bought a replacement (this is definitely one of the reasons why the 2JZ is better then say an RB) turns out the replacement sensors donít even have indexing pins so there is no inversion of orientation.
Ended up spending $20+ on shipping the parts back. Canít ship back some parts as the shipping would cost more then the parts.
Anyway onto the work.
With the correct intake acquired I drilled the holes for the bungs and went off to a local welder to have it welded. The other guy I used wanted basically $100 for setup and welding, this new person wanted 25 for small welds, 50 for big. Given how small these were I figured I could probably get away reasonably cheaply. Turns out it was a younger kid running a side business out of his parents basement. I should have probably gone elsewhere when after about 20 minutes no progress was made I noticed he was clamping onto anodized metal as his ground. In the interest of helping out though I stuck with it, 3 hours later I had my bungs welded (should have taken 20 minutes?).
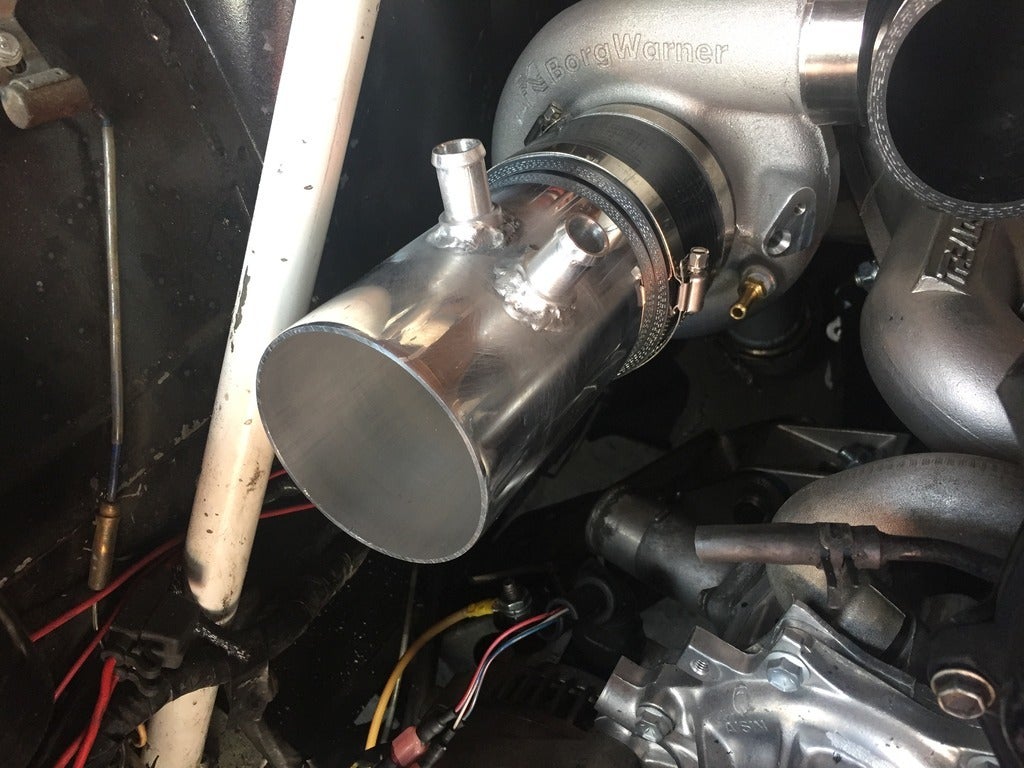
Oh well we all start somewhere.
On the water bypass pipe there was a random barb, my guess is for the intake or something of that nature, so I ground it off and welded it shut.
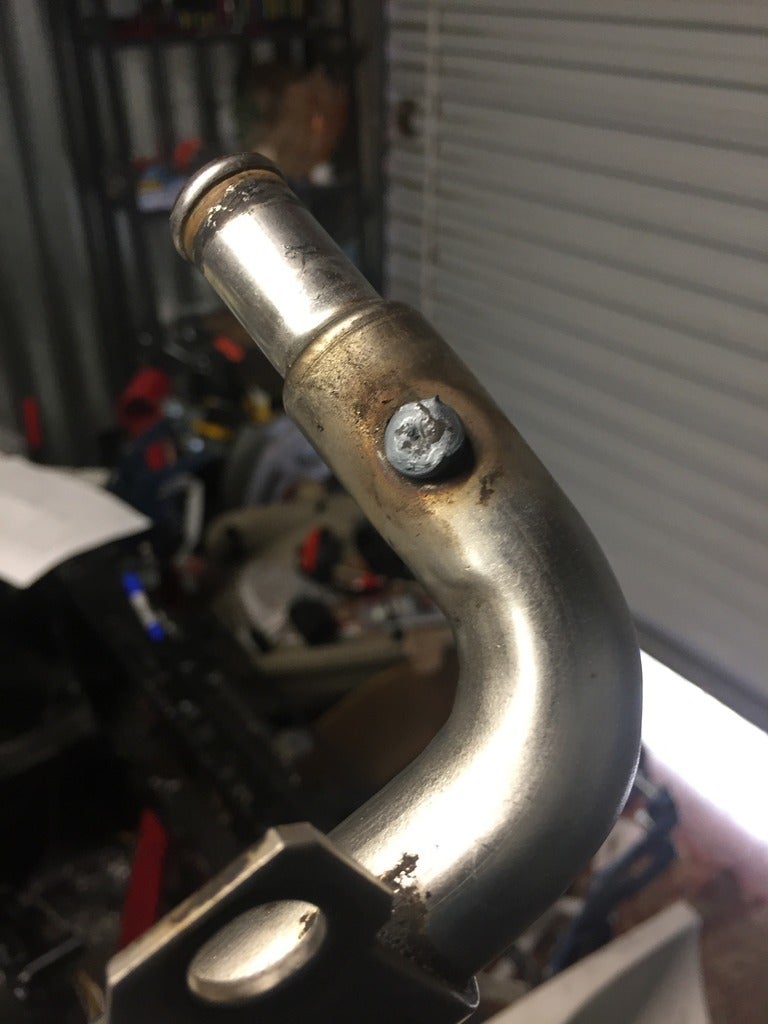
Then managed to tighten down the valve covers with the correct gasket with the FIPG and install the coil packs and the cam cover and the mid cover.
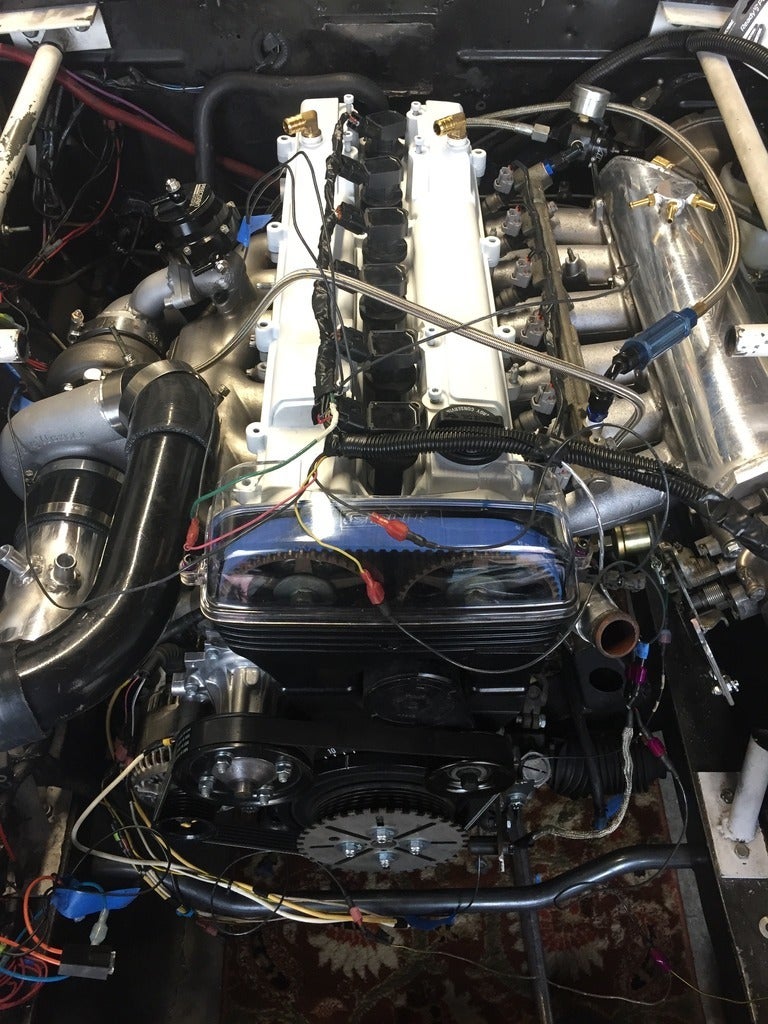
The cam cover needed a bit of trimming for the valve cover and the oil fill cap, but I think that is just the slight difference in the GTE vs GE covers.
I wired up the alternator as well the center pin was ignition and that was fairly simple to sort, the pins on either side is either the lamp or the signal. After looking at a few diagrams I think I have it, but if it is wrong it will be a matter of flipping two connections. Also installed the radiator hose, it is a bit different width in the engine bay so I had to shave the hose to get a tight fit.
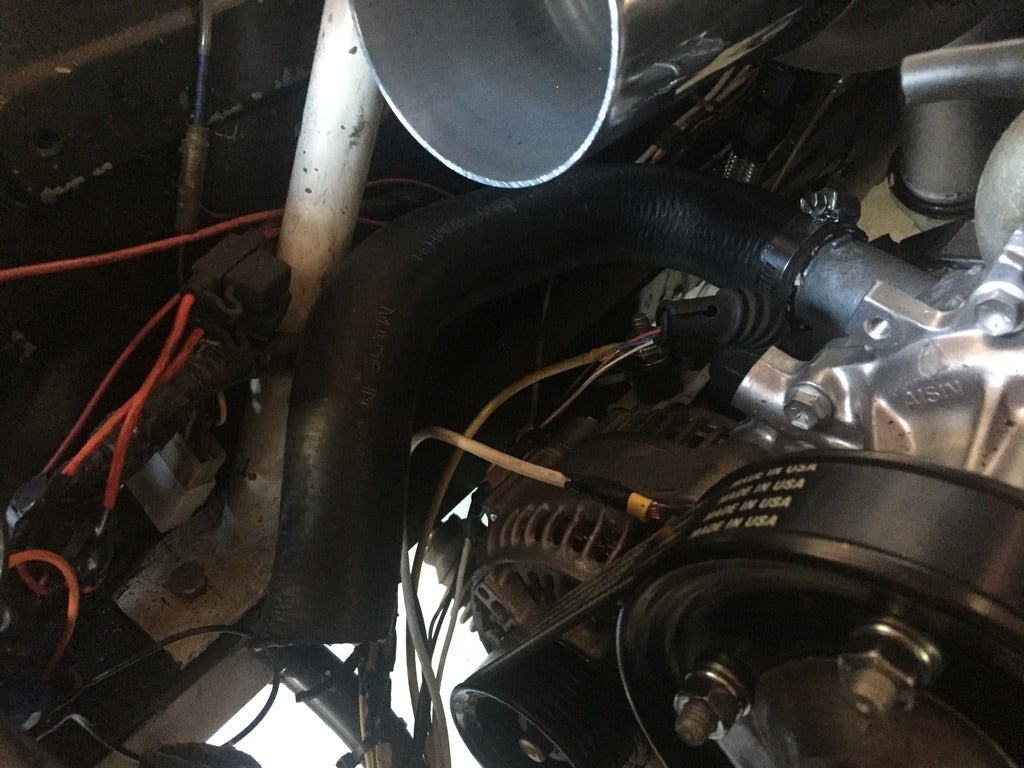
Then I made the top radiator hose. Pretty simple affair goes almost straight back so a length of hose with a slight bend was all that was needed.
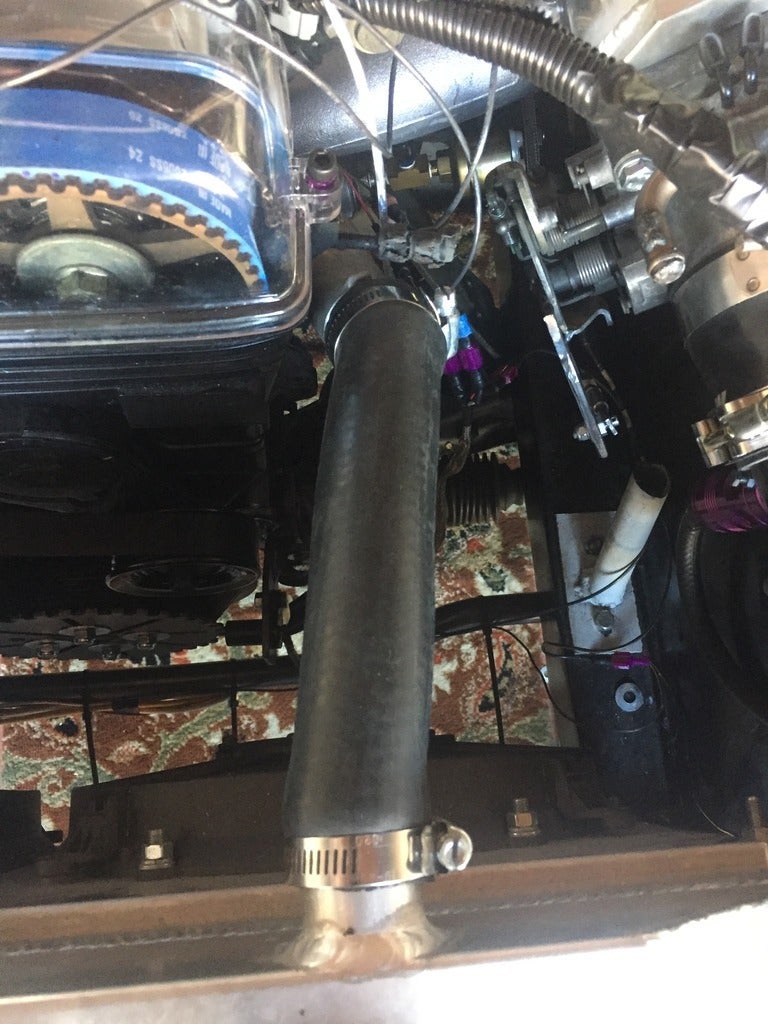
Then pounded the dip stick home. Definitely not ideal as the bracket does not hold it so you have to be careful when you pull on the stick since this was made for a rear sump gte engine, Iíll have to weld a bracket onto it later, but for now I slipped some foam hose over it so it doesnít rattle against the intake.
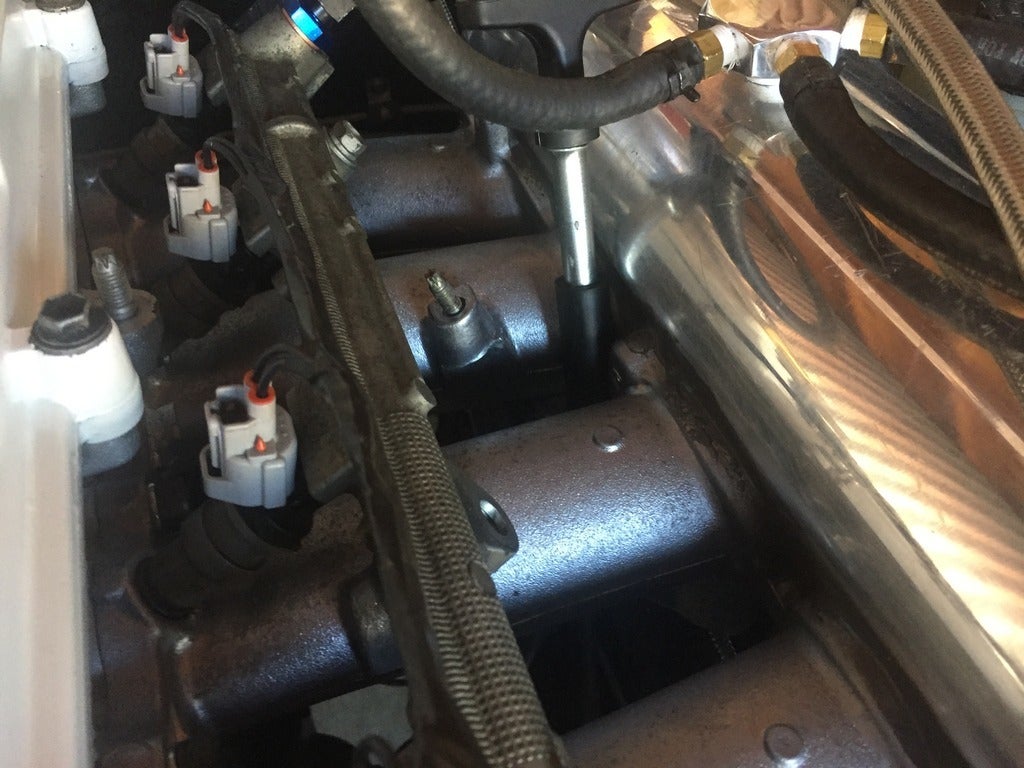
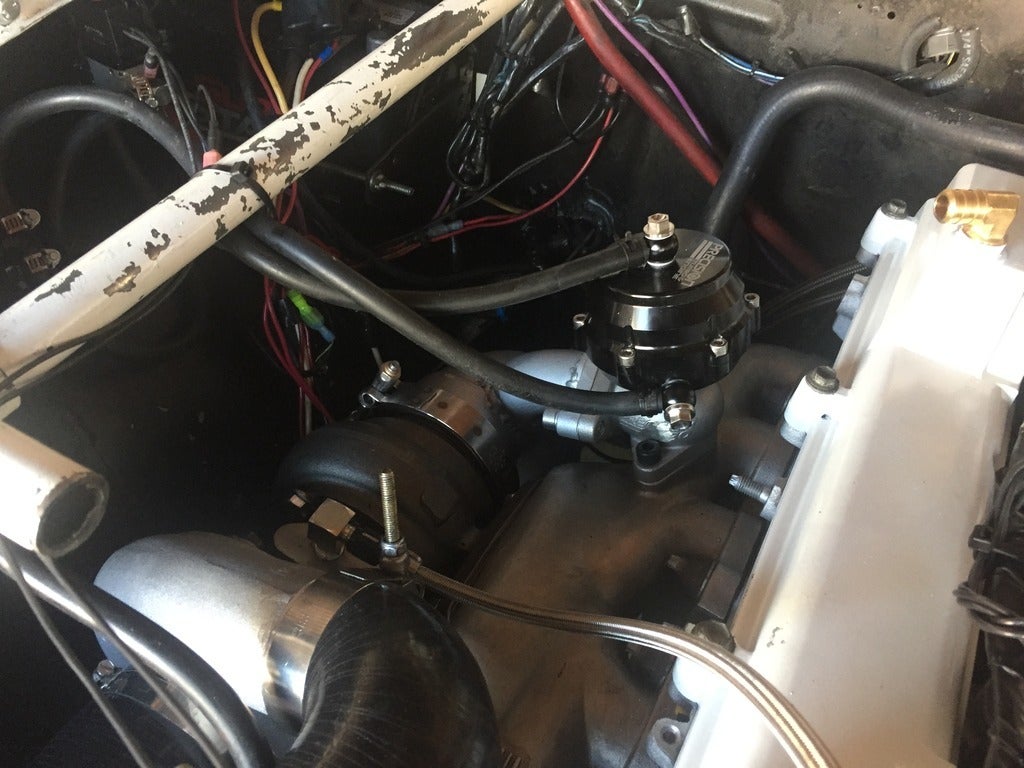
Also plumbed up the waste gate. The setup is a bit different so I had to buy a T and switch from an inline setup to a two port waste gate setup, but it was easily done.
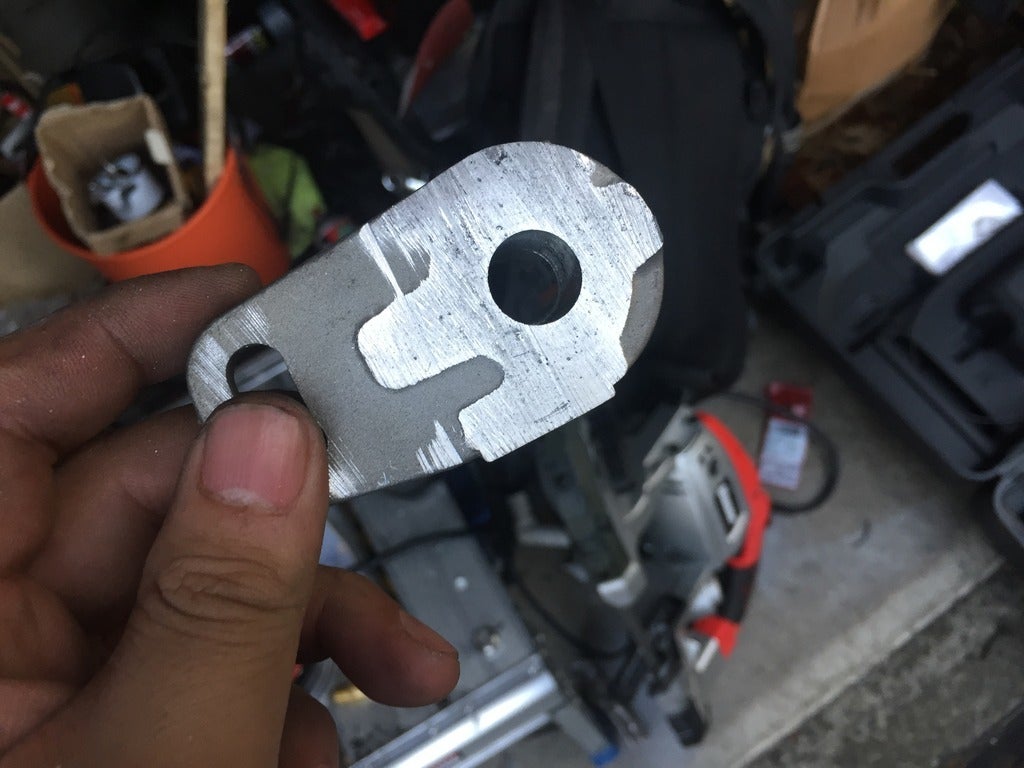
Then used my new favorite tool to cut the base plate off the distributor.
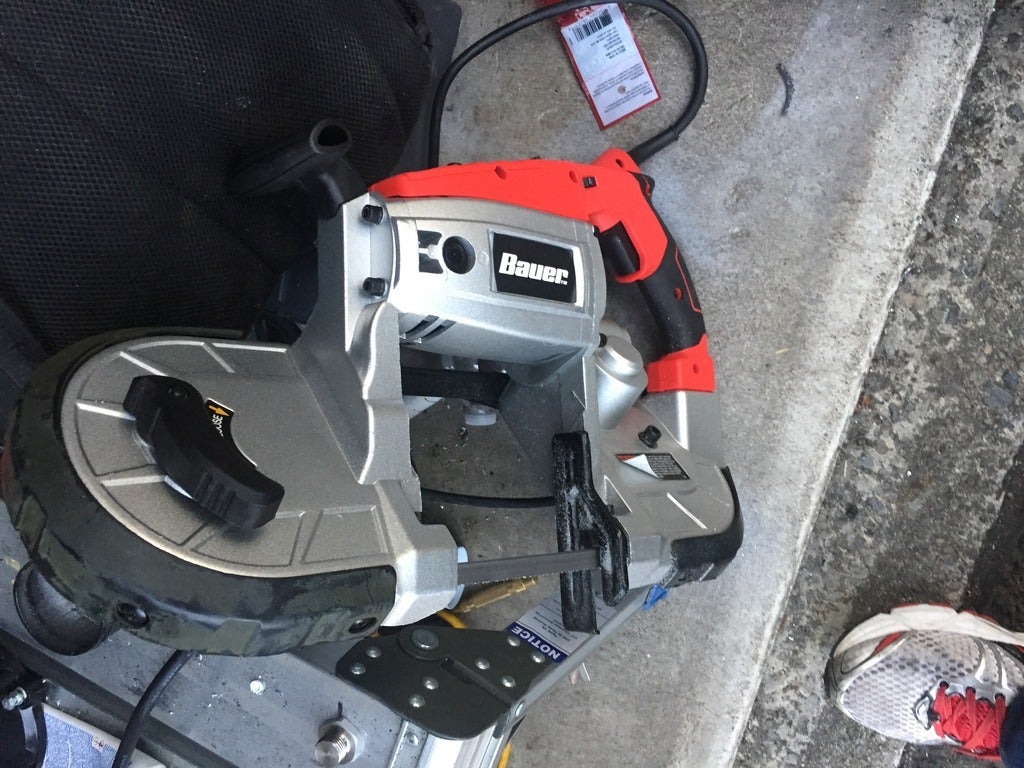
Cut through like butter with no drama
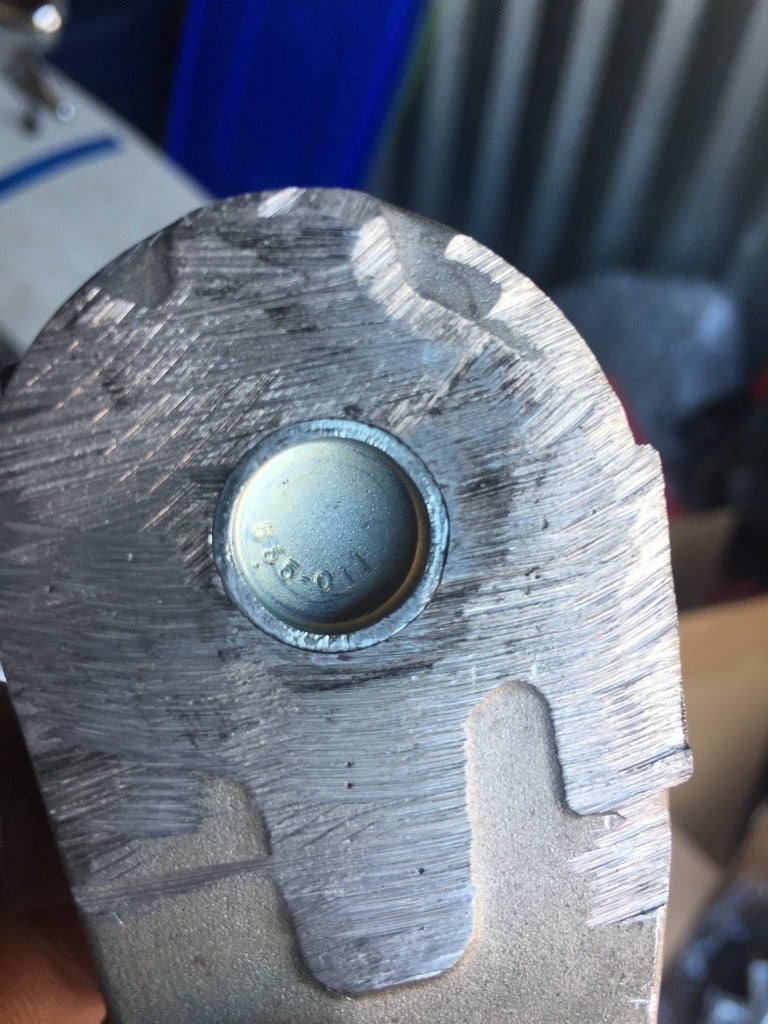
I was fretting tapping the aluminum for a plug, but the parts guy came through and found me a nice freeze plug that fit super tight. I smeared some FIPG on it just to be safe and hit it home.
I decided I would fill the coolant which is always good fun, get to find all the stupid little holes you forgot to block off or hoses you didnít tighten. Only two leaks came up, one under the water inlet on the driver side (random barb), and another on the passenger side where the length of pipe bridging the two radiator hoses was a bit short and was dripping slowly.
Still awfully close. Now I got to swap out the drain plug, fill the engine with oil, prime the system, figure out the timing, load the coolant temp calibration and pray that the gas hasnít gone bad.
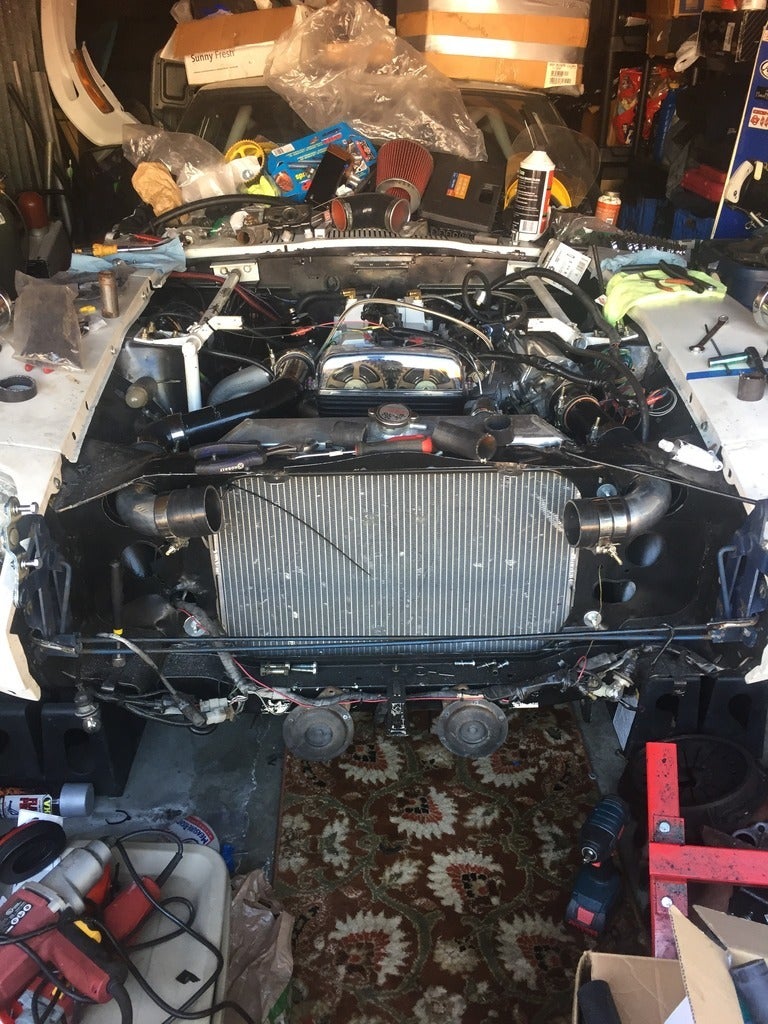
Not to mention clean off the huge mess everywhere.
Lessons learned:
Ask more questions before having someone take up a job.
Money spent -
Welding - 60
SC300 radiator hose - 20
Clamps - 20
Intake pipe - 18
Intake coupler - 10
Pissing money away on returning parts - 20
Freeze plug - 1
Coolant - 40
Dip stick - 40
Power steering and AC delete kit - 40
Subtotal - 258
Total spent 28945
 Rusty Vandura - www.tinyurl.com/keepoppo
> StudyStudyStudy
05/23/2017 at 13:35 |
|
So the $0.5k auto is now $29k?
 StudyStudyStudy
> Rusty Vandura - www.tinyurl.com/keepoppo
05/23/2017 at 13:47 |
|
Itís had that much spent on it...doubt it will be worth that much.
 Rusty Vandura - www.tinyurl.com/keepoppo
> StudyStudyStudy
05/23/2017 at 13:50 |
|
Are you going to drive the car when itís finished? Question then is, could you buy the car you are enjoying for the money youíve spent?
What is the car?
 itschrome
> StudyStudyStudy
05/23/2017 at 13:52 |
|
whats kind of car was this again?? link to part 1?
 StudyStudyStudy
> Rusty Vandura - www.tinyurl.com/keepoppo
05/23/2017 at 13:56 |
|
Oh yes, I just finished renewing my tabs.
Hmm not sure. Similar cars have been built and sold, definitely not unique in that category, but usually people donít put this kind of effort or time into modifying it, they usually go for a restoration at this price point, granted one sold recently in the modified category at $29.5k
1971 Datsun 240z.
 StudyStudyStudy
> itschrome
05/23/2017 at 13:59 |
|
Datsun 240z.
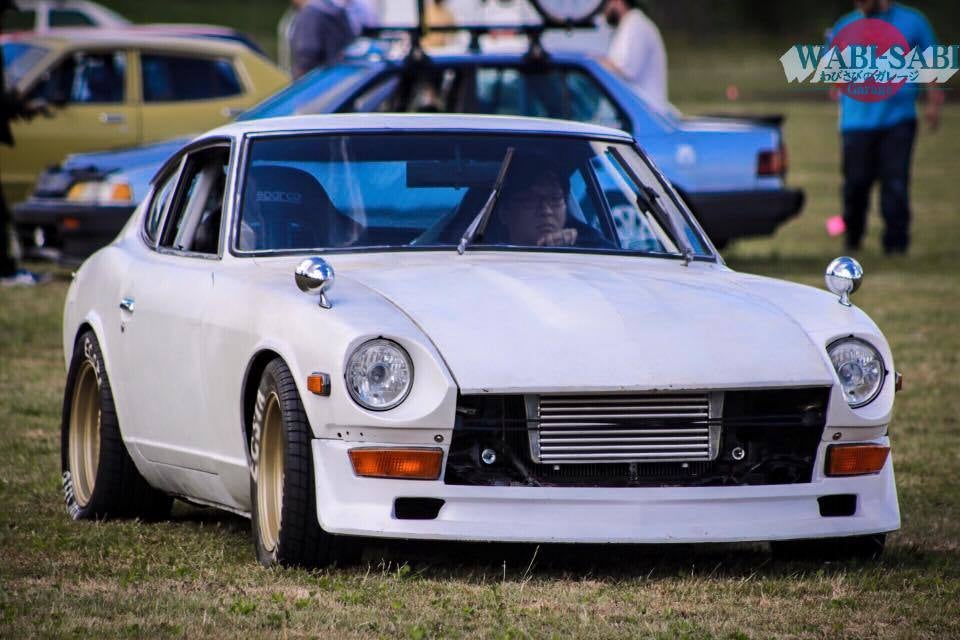
A picture taken on its last voyage last year.
Part 1
http://oppositelock.kinja.com/what-it-cost-me-to-own-a-500-car-part-1-1618545599
 itschrome
> StudyStudyStudy
05/23/2017 at 14:03 |
|
jesus, thatís right! itís been so long since we saw anything but an engine bay I was like, wtf is this again?
 StudyStudyStudy
> itschrome
05/23/2017 at 15:09 |
|
I hear ya, wish I was at the just pure glamour shots stage, but just focused on the engine at the moment. Good news is that the rest of the car should theoretically be sorted, so many glamour shots to come!